Words and Photos: The Quikspray Inc. Team
No two grout applications are going to be the same because of the wide variety of grout types, mixing processes, grout pumps, and applications. Using trial-and-error with grout mixing and pumping is not the best method, as you could end up wasting your grout or impeding your project. Having a few basic mixing and pumping tips in your back pocket can help you achieve your desired finished product.
Tips for Mixing and Pumping Grout
The following suggestions can help ensure a successful grout application using a grout pump.
Types of Grout
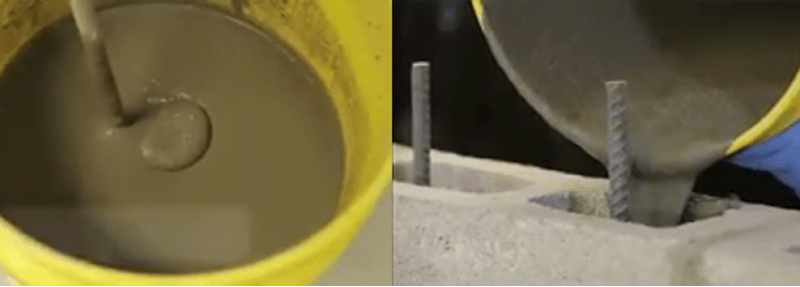
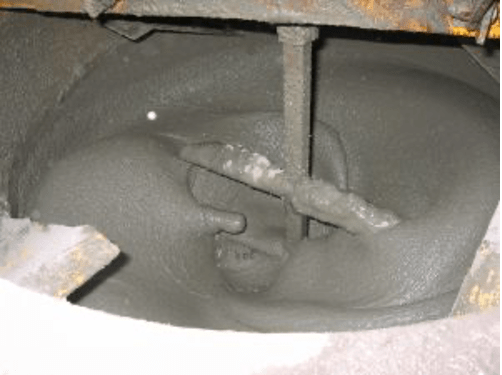
There are different types of grout and grout mixes, and some are not as suitable for pumping as others. Generally, thicker grouts do not work as well in pumping applications as more thinly-mixed grouts, simply because their consistency will not allow them to move through the pump as easily.
Similarly, grouts that are too wet may also not work well. It is important to be careful to follow mixing instructions for any grout, especially if there are separate instructions for preparing the grout for a pump. Make sure you are using the right type of grout — cementitious or epoxy — for your particular pump and job.
Grout Setting Time
Many grouts set quickly once they are mixed, making it crucial to use them as soon as possible in your pump after mixing. Take this into account when you are mixing your grout. Mix only enough that you can use within a few minutes in your pump. Then, continue to make batches of grout as needed to complete your project. Keep a close eye on the weather as temperature plays a huge role in the pumpability of the material.
Again, the type of grout makes a difference. Epoxy grout typically sets more quickly than cementitious grout, so it works better when you mix and apply it in stages, allowing each batch to settle before applying another grout layer. If the material is at the end of its pot life get it out of the equipment and material lines as it will set and complicate your material moving process.
Grout Flow
The type and consistency of your grout will affect its flow, or its ability to flow through your grout pump. It is necessary to determine the type of grout and flow you need for your particular application.
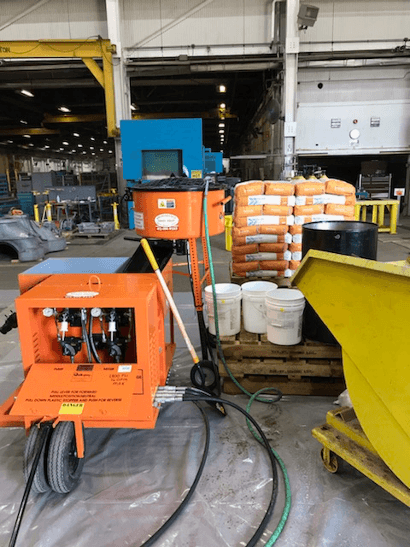
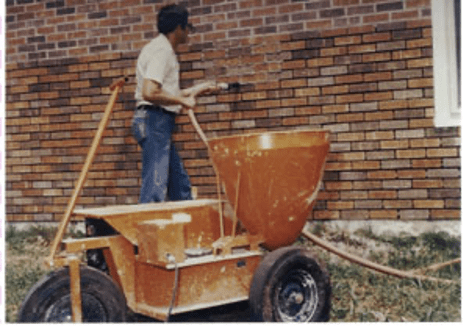
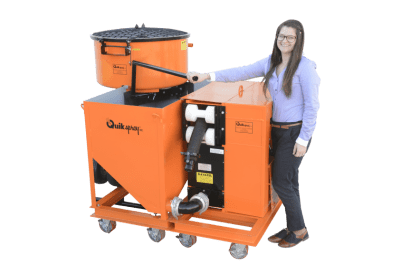
Pump Types
Be thorough when researching different grout pumps for your project, as they are not a one-size-fits-all tool. Rather, there are some grout pumps that work better for different applications and types of grout. A hose pump/ peristaltic action like Quikspray pumps allow easy clean-up especially when using epoxy products.
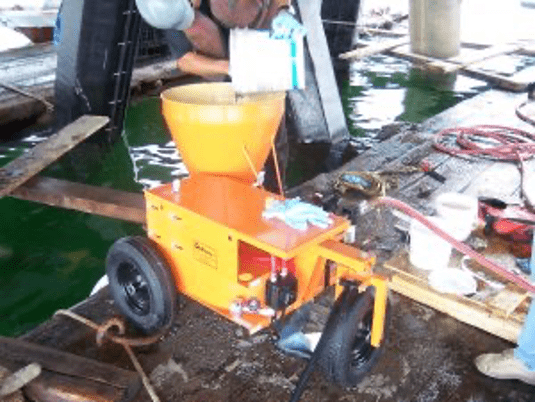
Pumping Distance
Pumping grout usually works best when you are close to your target. Although many pumps are designed to allow for long distance pumping, you can ensure a more direct and precise application with shorter distances and taking less wear and tear on the equipment.
Set up your workspace beforehand to allow for a short pumping distance, if possible. If long distance pumping is a must, make sure that your grout pump is the right one for the job.
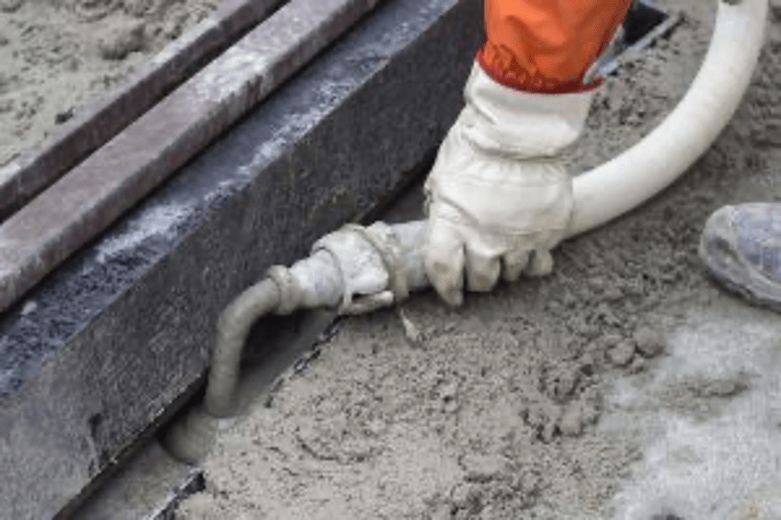
Pumping Procedures
Cleanliness of your pump is the key to a successful grout application. Your pump should be cleaned outside and inside before and after each use. Make sure all internal components are clean and free of buildup to avoid interfering with your grout’s chemical makeup and flow. Some people choose to plastic wrap their equipment before each use to make clean-up faster and easier.
While pumping, be sure to continuously check the operation of your grout pump. It is possible for the pump to get clogged during the process. Remaining vigilant to signs of problems can help you avoid issues. Listen for sounds of straining from the pump or signs that the grout flow is slowing down. If this happens, stop the pump, find and remove the plug. If the batch is nearing its pot life, get rid of it and mix a new batch of grout.
Common Myths about Mixing Grout
Whether you are filling cracks in a foundation or connecting pre-cast concrete sections, the grout you use plays a pivotal role in the success of your project. And that grout starts with mixing.
Grout is finicky. It requires the right mixing technique and the right amount of ingredients to create the bonding properties you need it to have. The common myths below are ones that are important to address with your team before gearing up for your project.
1. Old grout powder is still okay to use.
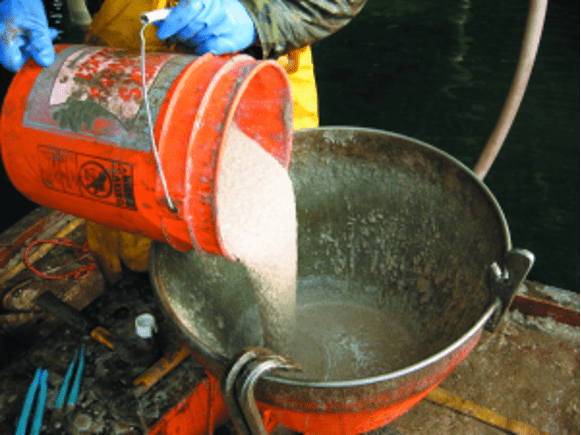
You might be tempted to use a bucket of grout powder that has been sitting in the warehouse for months when you just need to mix a little more. Be aware of powder that was not sealed correctly. It now could have moisture in it that will affect how it mixes and bonds. Stick with new grout powder or powder that has been re-sealed in a way to prevent moisture and other contaminants.
2. Additives are just extra expenses.
Not all applications require grout additives, like those that prevent mildew or enhance the grout’s color, but some do benefit from an additive. Although they will cost more money, the investment is worth it to get a high-end outcome for projects that require additives.
3. You only need the exact amount you plan to use.
Having extra grout on hand beyond the exact amount you think you will need for a project is a must. Depending on weather and temperature conditions, grout can mix and set a bit differently in one application than another, making it possible that you will need more than you intended.
Mistakes can always happen during mixing. It is always a good idea to have more grout powder than what you deem necessary, just to make sure you are covered.
4. Water and grout temperature are not important.
Material instructions specify the ideal temperature of the grout and water you should use to mix with the grout. In most cases, cool to warm water and grout are best. These temperatures will allow the mixture to be workable for a while without setting too quickly. Remember to properly condition the material before use.
5. The type of water is not important either.
For the best results, always use clean water to mix your cementitious grout. Avoid water that has contaminants, looks or smells dirty, or has a high amount of minerals, all of which may affect the functionality of the final mixture.
6. If you have done it once, you know how to do it again.
Not all grout is the same, it is vital that you read the instructions of the grout you use to ensure a proper mix and follow the material manufacturer’s instructions. This is especially true if you are mixing a type of grout that you are unfamiliar to working with, as epoxy and cementitious grouts mix and behave much differently from each other.
7. High speed mixing is better.
Mixing grout at high speeds introduces heat to the mixture, effectively changing its composition. The idea is to maintain the temperature of the grout and water as indicated in your grout’s instructions, so stick with a low-speed mixing such as a U-blend mixer unless the material manufacture specifically calls for a high shear mix.
8. It doesn’t matter how you mix.
If you do use a drill to mix your grout, avoid entrapping air in the mix. Extra movements can bring air bubbles into your mixture, affecting its ability to bond and cure correctly. Again, the instructions should give some pointers of the best way to mix your specific solution. Mixing with a machine will help bring consistency to the mix.
9. Adding more water for consistency is fine.
Never add more water than what the directions indicate to mix your grout. It might be tempting to add a bit more to make it easier to mix or prevent it from curing too fast, but extra water interferes with a grout’s chemical composition. Too much water may render it useless. Contact the material manufacture before you redesign their mix for them.
10. You can mix full bags of grout at one time.
It is a good idea to mix small amounts of grout at a time, especially if you are not going to be able to use a full bag before it begins to cure. Mix only what you need for each stage of the project.