Words: Darcy Boyle, Media & Communications Director at PROSOCO
Quotes: Jake Boyer, Head of the Clean and Protect Group at PROSOCO
Photos: PROSOCO
Make these simple tweaks, and your cleaning jobs will be so much easier.
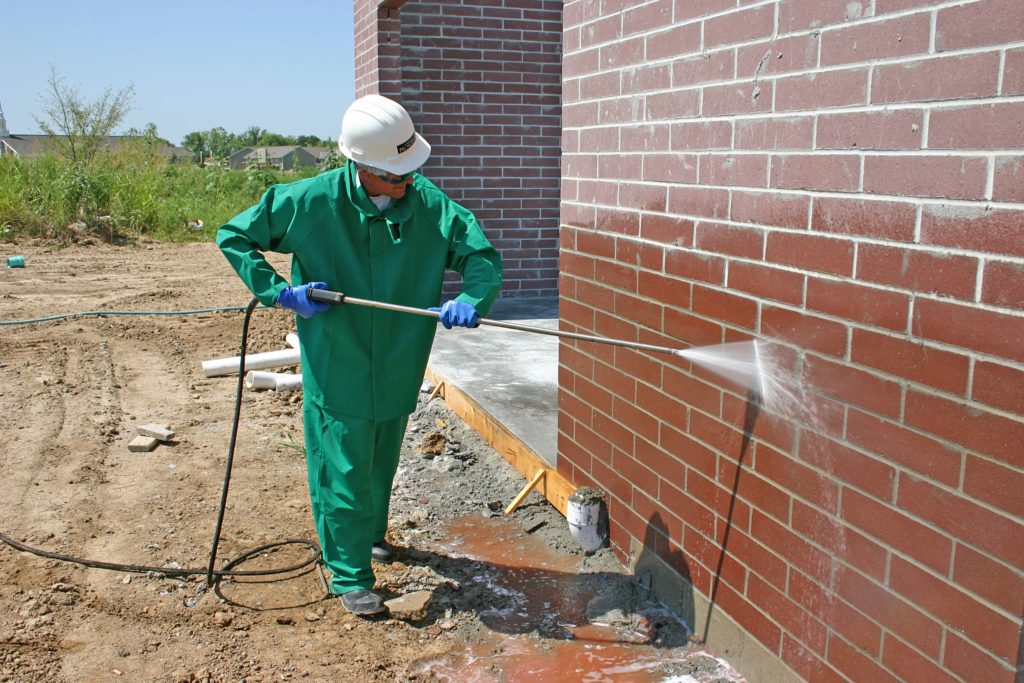
When it comes to the spray equipment that contractors use on their masonry cleaning jobs, the process is not as fail-proof as you may think.
In fact, there are some common equipment mistakes we see on job sites every day that cause damage to substrates, headaches for owners and contractors, and increased call-backs and problems.
Here are the top 3 mistakes we see and easy ways to remedy them.
Mistake #1: Your pressure-to-volume ratio is wrong.
There’s a reason why many organizations in the industry, including MCAA, recognize that masonry cleaners should not be applied at high pressure, according to Jake Boyer, head of PROSOCO’s Clean and Protect Group.
“Regardless of whether it’s a solvent, a surfactant, acid or alkaline cleaner, you don’t want to apply at high pressure because you want the cleaning power to stay at the surface,” he says. “A lot of people believe that higher pressure means it’s going to clean better when in reality, the volume of water is more important than pressure. As recognized by industry organizations, pressure should not exceed 1000 psi as excessive pressure can irreparably damage the substrates. Let the cleaner do its job and rinse with plenty of water to fully remove the cleaner and the stains it’s removed.”
For example, if you’re spraying at 3000 psi, but your flow rate is only 1 or 2 gallons per minute, “you’re just injecting high-pressure water into the wall,” Boyer says. He compares it to taking a shower at your local gym, where the pressure is high, and the volume is low – the pressure feels like needles on your back, and the low water volume is why it takes forever to rinse the shampoo out of your hair.
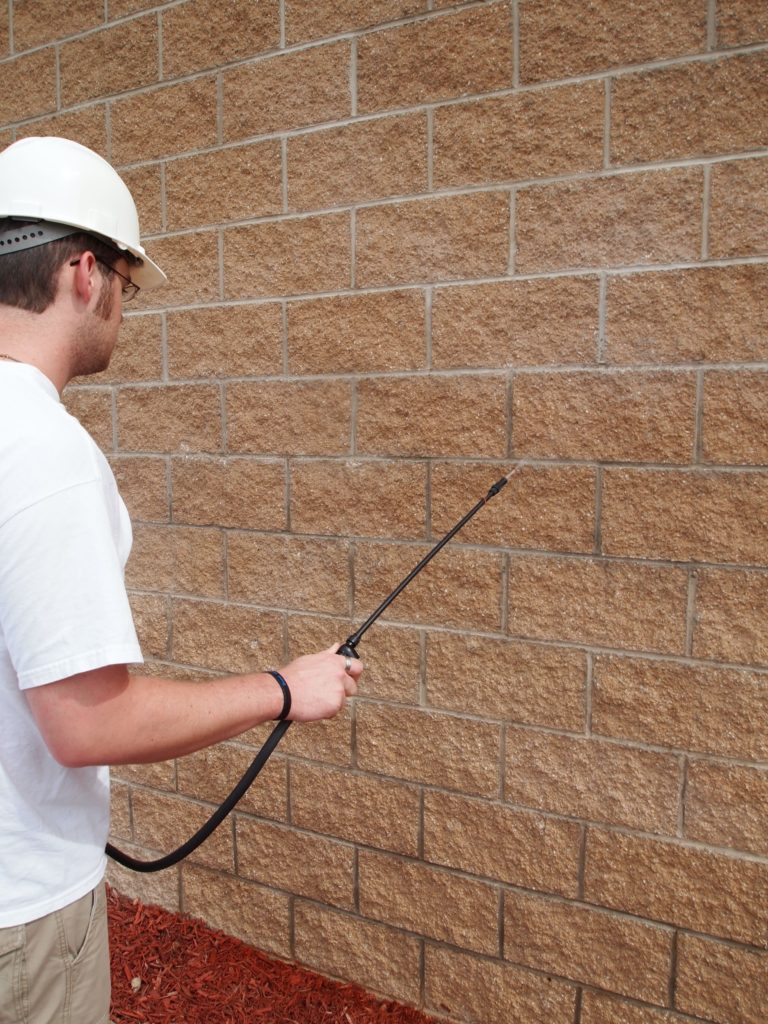
Instead, the recommendation is lower pressure and higher volume, allowing the cleaning solution to break down the surface level stains but not penetrate beyond the surface where it’s not doing you any good.
Boyer’s advice is to thoroughly pre-wet the wall with water, apply the cleaner to stay on the surface and make sure you’re thoroughly rinsing the wall to further break down contaminants and ensure they’re running all the way off the wall. The last thing you want is to rinse the partially dissolved stains halfway down the wall and redeposit, making the stains much harder to remove later.
A tell-tale sign of the high-pressure, low-volume mistake in new construction cleaning is a tough-to-remove stain: white scum. This occurs more frequently than you might expect in situations where you’re trying to remove mortar smears. The cleaning process dissolves the loosely bound mortar smears and rinses them down the wall, but when it’s not thoroughly rinsed, that mortar can redeposit on the wall – where it’s now even more hydrated and harder to remove. Now you’ve just traded one problem for another.
So, what is the ideal pressure and volume?
“For acidic cleaners, the industry recognizes applying the cleaner at no more than 50 psi and pre-wetting and rinsing between 6 and 8 gallons per minute,” Boyer advises.
When you can’t achieve that flow rate, or volume, on a job site, the variable to increase is time, not pressure.
“You may only have 3 or 4 gallons per minute, which is fine, but you can’t compensate for low volume by just adding more pressure, which is what most people try and do,” he says. “You compensate for low volume by spending a little bit more time on the wall.”
Mistake #2: You didn’t pre-dilute your cleaner.
One misconception in the industry is that a consistent dilution is possible with a downstream injector, which draws the water and cleaning solution up to the pressure washer wand separately and then blends the two into the right dilution at the tip.
“Unfortunately, that’s not always accurate for providing a consistent dilution,” Boyer says. “Without verifying what dilution you’re actually getting on each job site by testing, your dilution may be too aggressive for one job but not aggressive for the next. You could end up causing damage or having to do the job twice.
Boyer adds: “There are too many variables from one site to the next, or even one elevation to the next, to rely solely on a downstream injector to give you a consistent dilution in all cases. Variables include, but are not limited to the length of hose, the diameter of the hose, water flow rate, pressure, elevation from the source and much more.”
The agreed-upon best practice for getting an intended dilution is to pre-dilute the cleaner on-site, meaning you mix the chemical at the appropriate dilution rate in a receptacle and then apply it directly from that receptacle. The added step will be worth it in the end, he adds.
“You’re always better off to predilute your cleaner before applying rather than relying on the venturi effect of a downstream injector to do it for you,” Boyer says. “It may seem like an extra step, but it will save you in the long run by giving you a consistent dilution every time.”
Knowing your specific dilution is important in cleaning applications because dilution is just one of many variables that can affect your end result.
“There’s no standardized rate that one product should always be diluted to,” Boyer says. “There’s a million ways to skin a cat. You need to consider each of the different elements and variables involved in the job you’re approaching. You can overcome any of these obstacles; you just have to be aware of what factors you’re working with.”
If you insist on using a downstream injector or another spray system, Boyer offers a trick for how to test your dilution.
“Be sure to check your dilution throughout the project to ensure you’re dialed in,” he says. “You can test your dilution by putting the injector hose in a bucket with 1 gallon of water, then spraying into another empty bucket. If you’re looking for a 1:4 dilution, then the bucket you’re spraying into should top off at the same time the other bucket empties. Keep in mind that dilution may change with different elevations, length of hose and the other variables previously mentioned, so be sure to check throughout the project.”
Mistake #3: You didn’t put safety first.
Maybe it sounds old hat or cliché, but safety is still the most important thing, no matter the type or scale of your cleaning job.
“Our motto at PROSOCO is the Hippocratic Oath. First, do no harm,” Boyer says, “Whether it’s the dilution, the product, or the application method, you always want to start with the mildest option and work toward more aggressive options as necessary.”
“You can always make the concentration stronger, but once you start aggressive, there’s no going back to undo any damage caused. Not to mention that the stronger the concentration, the higher chance you’re wasting material. Even if it didn’t do any damage, it still cost you more money by using more material than needed.”
Author Information: Darcy Boyle has worked as the media and communications director for PROSOCO for 8 years, honing her craft as a story-teller, copywriter and PR specialist in construction.