Sponsored By:
Words: Jeff Tew, Director of Technical + Training, Westlake Royal Stone Solutions
Photos: Cultured Stone
Like natural stone, manufactured stone veneer (MSV) is made for longevity. It stands up to decades of weathering with little change to color, and it’s able to withstand years of hot weather or cold weather conditions, including freeze-thaw cycles, without cracking, chipping or fading. MSV is also famously low maintenance, requiring a simple water rinse and a soft bristle brush to remove debris. It should never need to be sealed or painted, and quality manufacturers provide extensive warranty coverage for up to 50 years.
As with any quality product, the long-term success and resilience of the material depends on proper installation. In fact, most of the care and maintenance issues people face with MSV products can be traced to costly mistakes during installation, which underscores how important it is that we get things right on the wall in order to avoid problems later.
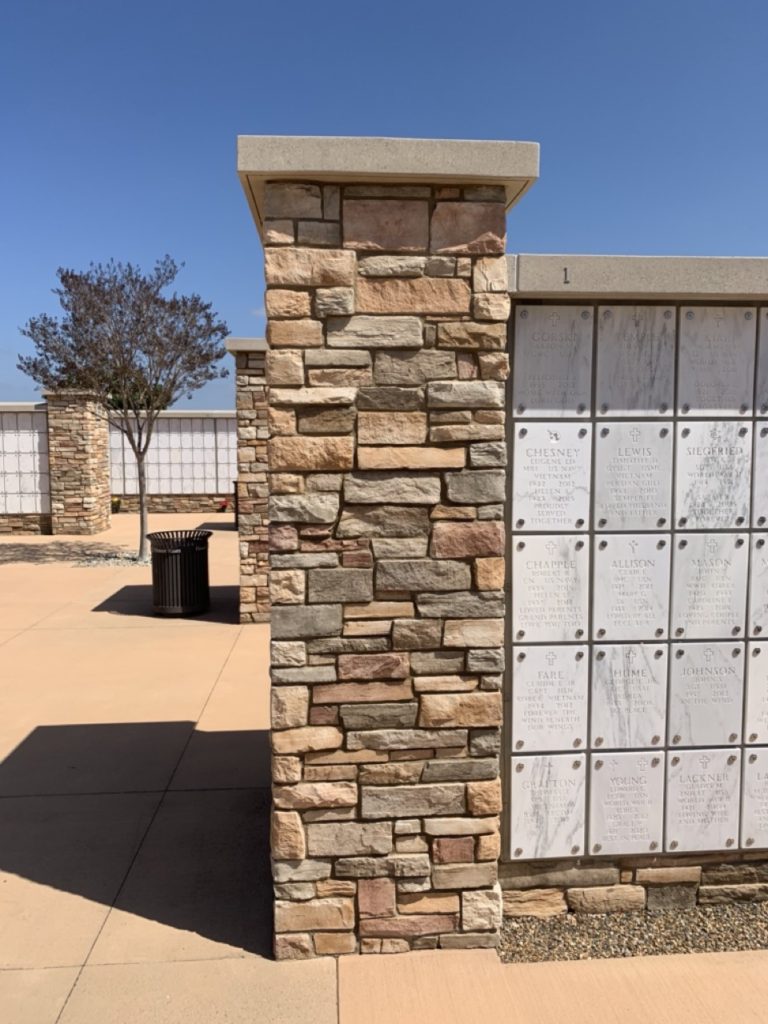
A drip edge or kerf forces water to drop off capping materials promptly. 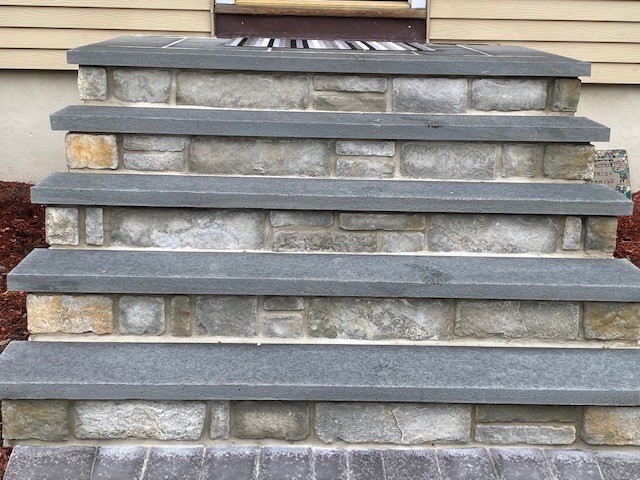
Application on stair risers can lead to damage from chemicals and foot traffic.
Potentially Costly Install Mistakes
There is simply no substitute for following instructions when it comes to time-tested best practices and installation techniques. Some of the most common mistakes and misconceptions at any project site include:
- The “Doughnut” Method: This is an application where the setting bed mortar is applied in a ring around the edges of the back of the unit. The theory was that the void in the center would provide suction and help the stone stay on the wall, but this actually reduces the bond area and leaves a void for water to collect in, potentially causing damage to the stone.
- Failure to Maintain Proper Clearance: Although running stone to or below grade may give a more realistic appearance, it is also a violation of the building code and will impact warranty coverage. Clearance is required to allow for drainage and prevent moisture from wicking up the wall while also minimizing soil staining and efflorescence. In some regions, proper clearance is also necessary to allow for termite inspection zones.
- Lath Lap/Overlap: Failure to lap lath correctly, especially at corners, can lead to cracking.
- Accelerators in Mortar: Antifreeze and other chemicals reduce bond strength, which can lead to efflorescence problems and/or may impact corrosion of lath.
- Installation on Stair Risers: While this application dresses up a stairway, it’s not practical when the appropriate clearance (2”) is provided from the paved surface, the step. This application is a water management challenge and can lead to exposure to de-icing chemicals, and these types of installations can also fall prey to damage kicks, scrapes and scuffs.
- Improper Capping: Good water management principles govern transitions between materials. Flashing these transitions is required, and capping is also critical. MSV is no exception. Cap your installation with a material that overhangs the stone installation by 1-2” and, if possible, provide a drip edge or kerf to force water to drop off your capping materials promptly.
- Retaining Walls: Many MSV products, regardless of manufacturer, face additional risks when installed on a planter or retaining wall. This is due to two factors: first is the water pressure created by water traveling through the retaining wall; second is mineral loading created by minerals that have been picked up by the water from the soil. For this reason, it’s important to provide appropriate waterproofing and drainage on the soil side of the wall, and it’s a best practice to also consider using a rainscreen on the cladding side of the wall that provides an alternative path for salt latent water to escape and helps the veneer dry faster.
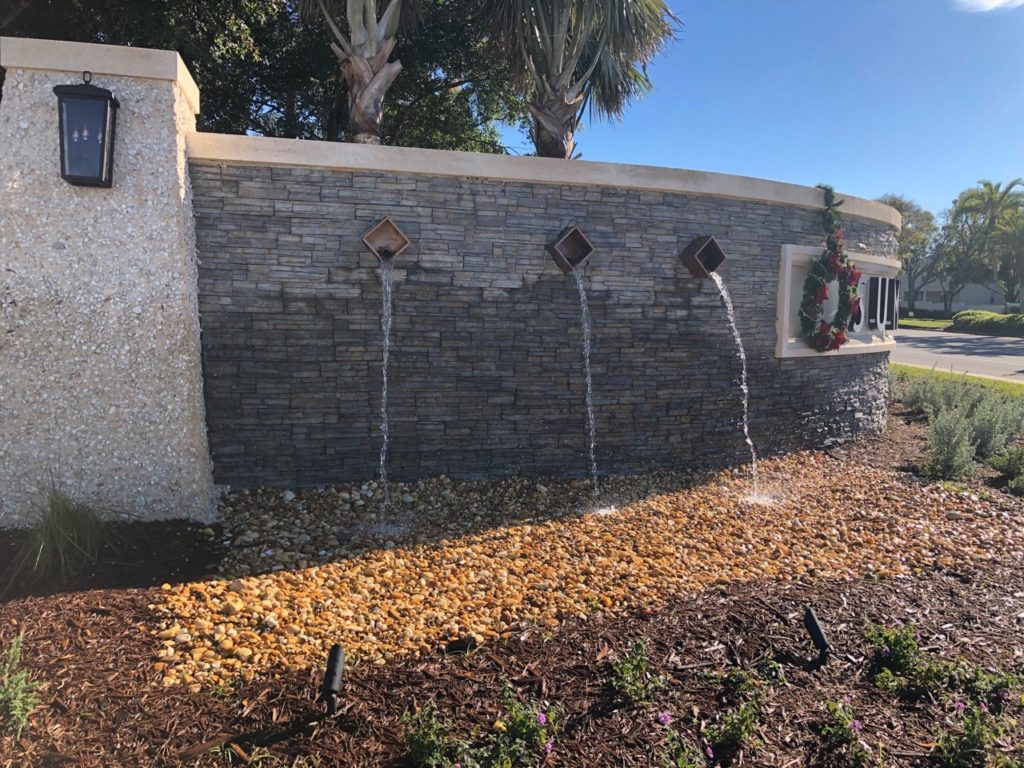
- Pools and Fountains: Due to the constant presence of water and chemicals in a pool or fountain, MSV is not recommended for installation at any point where there will be continual contact with flowing or still water. This constant contact will deteriorate the structure of the stone veneer and lead to chips, cracks or more advanced degradation.
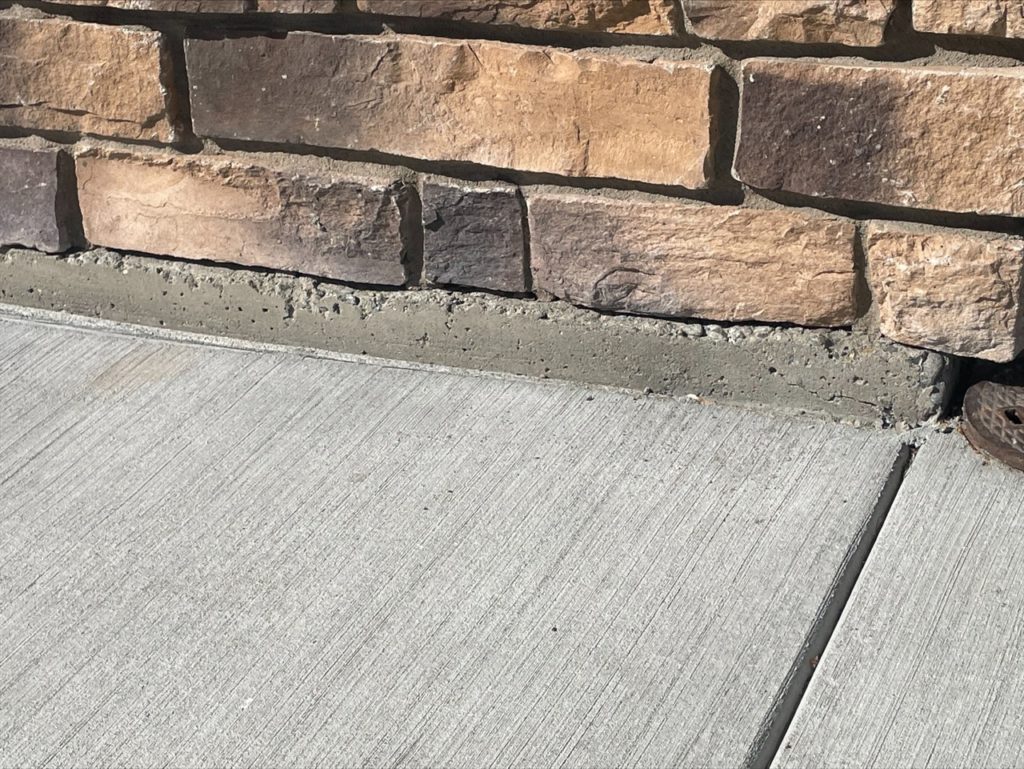
Proper Clearance 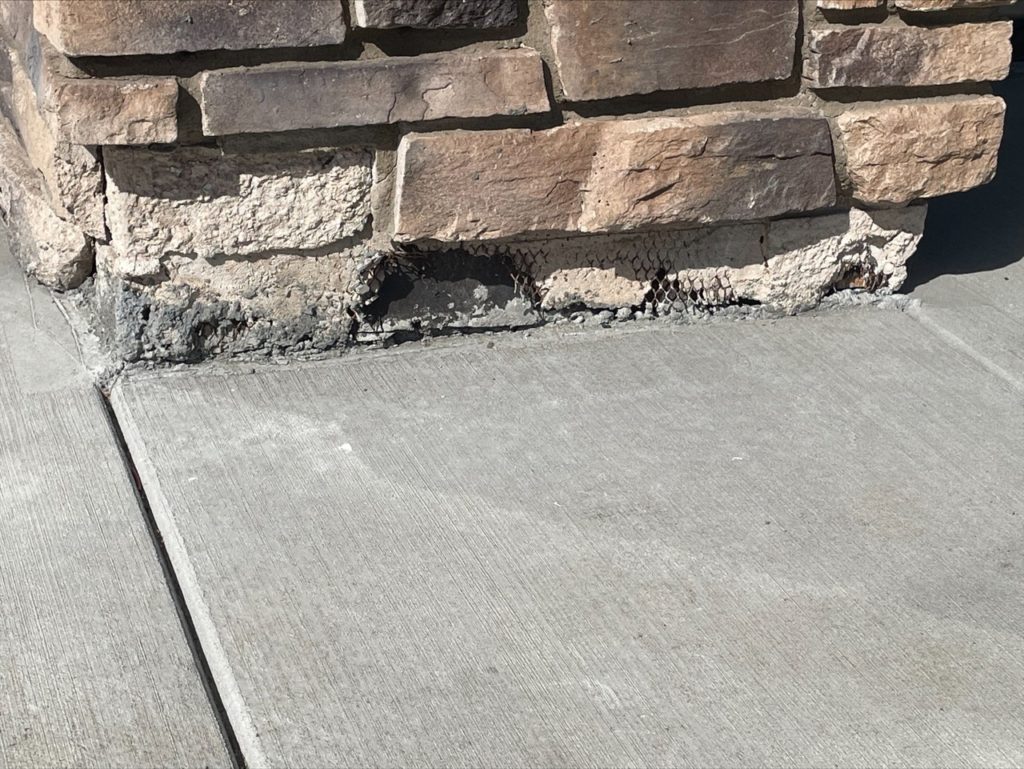
Failure to Maintain Proper Clearance
Doing things wrong during installation will have a lasting impact on any material in terms of care and maintenance, which is why it’s best to put in the time and energy upfront to get things right the first time. If the application has been done properly and in accordance with best practices, care and maintenance will be incredibly easy for years to come, assuming that you’re working with a quality product that meets or exceeds standards such as ASTM C1670.
Best Practices
Just as a long-term mistake will often have its roots in the install, that’s also where best practices can set a project up for decades of low-maintenance success. Here’s what to do with each MSV application in the field to ensure it has staying power:
- Minimize Splashing: In most new construction projects, the installation will terminate near uncovered soil until the landscaping is completed. Roof run-off and rain can cause soil to splash onto the stone resulting in staining, so it is recommended to spread straw or cardboard over the soil until the gutters and landscaping are in place to minimize splashing and save time on final clean-up.
- Clean Dirt + Debris: Dirt and debris may be easily removed with a soft bristle brush by using a solution of granulated soap or detergent and water. Do not use a wire brush, which will damage the surface of the stone. Once the surface is clean, rinse immediately with fresh water. Do not use acid-based cleaning products, and do not sandblast or power-wash the stone at any pressure.
- Clean Excess Type S or Type N Mortar: Multiple times per day, as the mortar becomes thumbprint hard, completed work should be brushed or broomed to remove loose mortar. This will allow you to clean the face of the stone before the mortar has a chance to set up and stain. A wet brush or sponge used to clean mortar during installation may only smear the mortar, causing staining that is difficult or impossible to remove. Again, do not use acid-based cleaning products.
- Clean Excess Modified Mortar: Use caution with modified mortars, which provide stronger bond characteristics but are also harder to clean. Modified mortar on the face of stone is tenacious, and it can smear or permanently stain the stone. Keep modified mortar off the face of the stone if possible, and keep a bucket of clean water and a sponge nearby to immediately clean the modified mortar off the stone. Contact the modified mortar manufacturer for more information on cleaning with their product.
- Apply a Protective Coating: While not required, you may choose to use a protective treatment to help minimize water penetration into the stone and make the finished application easier to clean. Silane or siloxane based breathable protective treatments will not make the stone waterproof or leakproof, they may make cleaning the stone easier. Remember to never use the protective coating on the bondable surface (i.e. the back of the stone), and be sure to test the product on a few pieces to see if they change the color or sheen before applying to all veneer pieces.
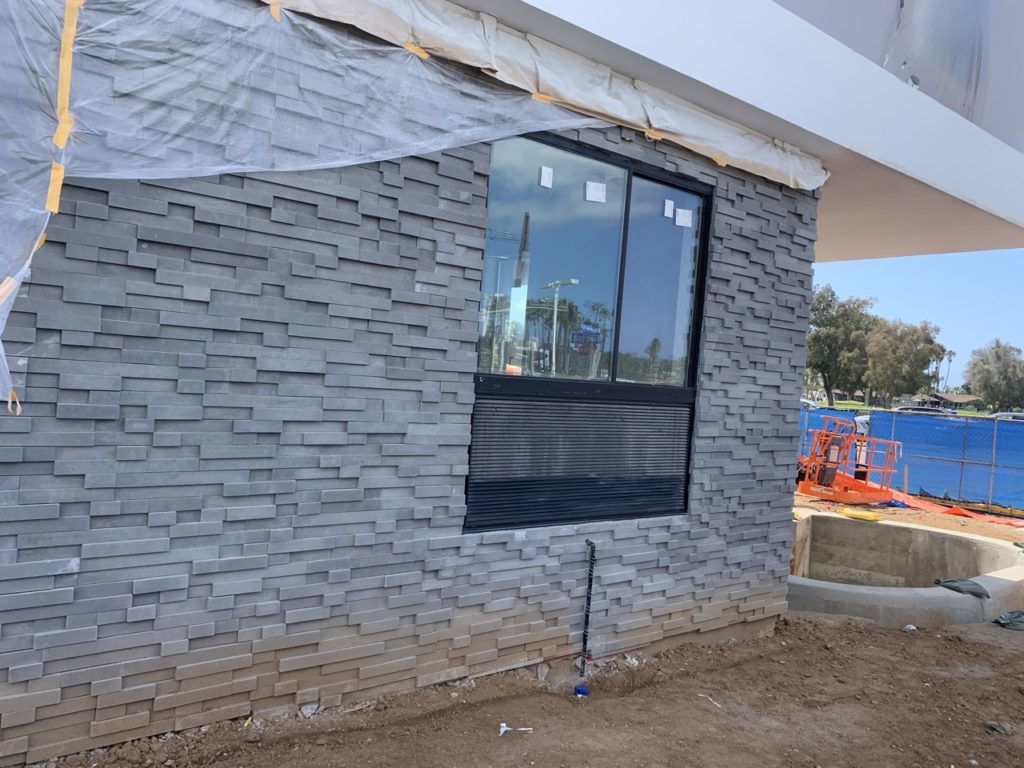
Splashing due to roof runoff and rain can stain the stone and create more work at cleanup. 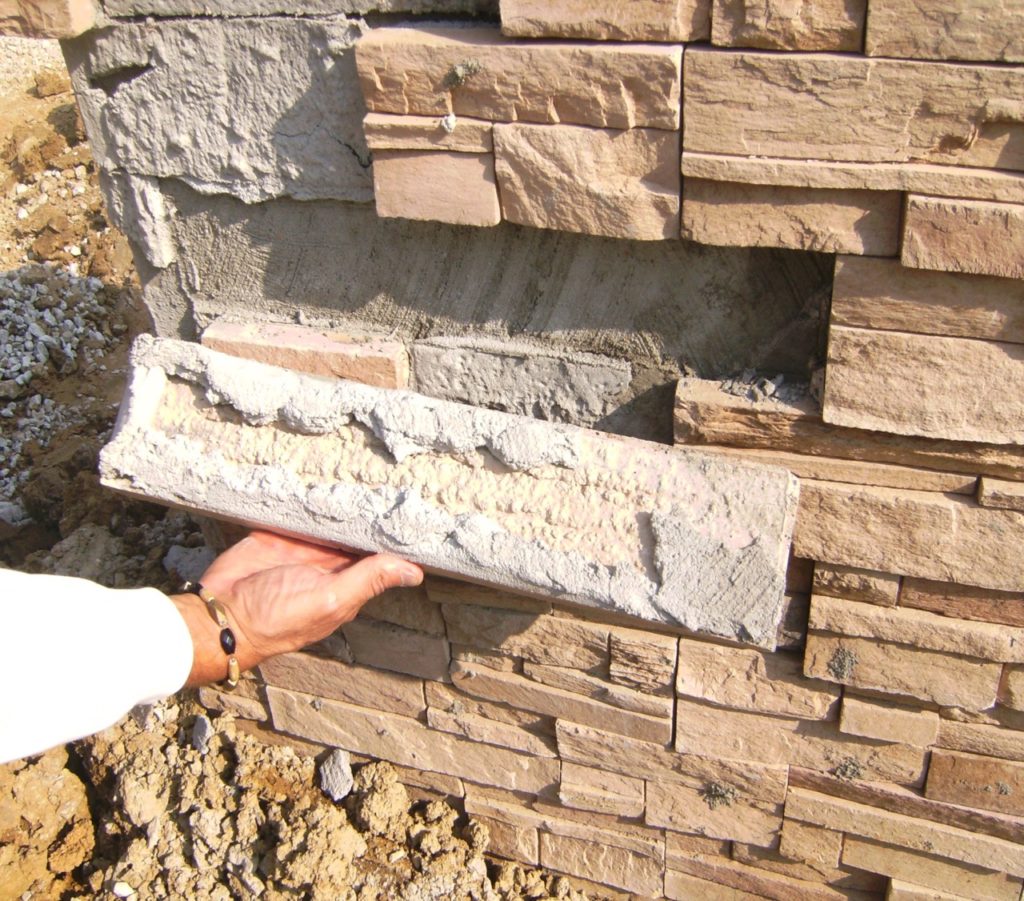
The doughnut method provides insufficient bond and leaves a potential void for water to collect.
Addressing Efflorescence
A common maintenance issue for MSV and other forms of masonry, efflorescence is a water-soluble salt that is deposited on the surface of stucco, concrete, brick and other masonry products. This results from salt that is dissolved by water and moved through the system then remains deposited on the surface of the stone after the water dissolves. In short, efflorescence needs salt, water, and drying to occur and can appear white and chalky or brown and yellow.
While we cannot control the environment, there are things we can control:
- Salt sources: Some manufacturers, such as Cultured Stone, utilize concrete technology additives to tie up the salt within the stone veneer. Some mortar and block manufacturers do the same.
- Choosing quality materials: High quality CMU block and mortar manufacturers also produce materials to minimize efflorescence.
- Water management: While we can’t control drying, we can minimize the amount of water the system is exposed to through the use of proper capping and by incorporating flashings that immediately move water to the exterior, beyond the face of the masonry. The faster water is removed, the less likely it will have an opportunity to dissolve the salts.
If you discover efflorescence on your stone, it should be removed as soon as possible. Over time efflorescence can harden, making it difficult or impossible to remove. First, allow the wall system to dry thoroughly and then scrub with a soft bristle brush and clean water. Follow that with a thorough rinse with fresh water, and remember not to use a wire brush or power washer. More difficult efflorescence problems may also require a solution of one part white household vinegar to five parts water, followed by a thorough fresh water rinse.
By avoiding mistakes and following best practices during installation, you are setting your customers up for great success with a low-maintenance and durable product application that maintains its integrity and visual appeal for years and years to come.
About the Author
As the Director of Technical and Training for Westlake Royal Stone Solutions, Jeff Tew is an invaluable thought leader and resource for trade professionals. With more than 25 years of career experience in Manufactured Stone Veneer (MSV), he works with masons, builders, architects and others in the construction industry to help design and build beautiful projects.
