Fechino Files: Corner Poles
Words: Steven Fechino
Steven Fechino
Corner poles are not the most exciting accessory that a mason uses. They are not automated; they are just there. I got to digging and found out a bit about corner poles that I hope you enjoy.
The corner pole was invented in the 1950s by John Bongiovanni, not the current president of Bon Tool, but his great uncle. John was a mason contractor that worked in the Northeast part of the country and focused largely on the New York City market with extremely large crews (over 300 employees) building skyscrapers that we can still see today. So, once the word got out about the efficiency of the corner pole, other contractors became interested and began purchasing them. John was running such a large company; therefore, John did not have time to secure materials, make the corner poles, and ship them out to customers. So, John coordinated things with his brother Carl P. Bongiovanni (John Bongiovanni, President of Bon Tool’s grandfather) to purchase the corner pole business, and boom… the rest is history.
Corner poles are basically still a cool part of what we do. Why? Because once they are up and set, the laying begins, and the project comes to life. The thing I like is once the marks are made on the pole, you do not need to even think about consistent bed joints, plumb corners, or whether or not the person on the other end of the wall will lay evenly up to your work. The first corner pole I ever set up consisted of three- 2x4s that may have been almost straight, along with 6-8-inch block, two on the bottom of each 2x4. They were nailed together using the brick hammer... not a great choice for nails, by the way, with nails scraped up around the jobsite. It was residential, it was the beginning, and it was fun.
Mounting the corner poles to the building is not difficult, but there are a bunch of ways you can do it. Early on, once I was able to buy two aluminum corner poles, I purchased two 12-foot pieces. Thinking I was being smart, the longer square poles seemed better, but in actuality, I never did big enough work on the side to need them. I should have probably purchased two 8-foot pieces. They also were too tall for single-story work from flat ground because they would hit the soffit, so I would need to hang them far enough away from the corner to clear the soffit. This was really not much of a problem unless there was an open ditch for waterproofing or utilities. I was shown a long time ago that if you take two 2” x 4” short boards and screw them together to form an L-bracket, and nail that to the substrate wall, you could hang your pole with C-clamps. You would need one at the top of the wall and about 2 feet up the wall to secure it. Once your coursing caught up, the bottom brace needed to be re-mounted, basically a pain in the bottom. The brace also needed a gusset plate in the corner to keep it square and tight. Once I figured that part out, things became easier. I would venture to guess you made a set or two of these L-brackets once upon a time. Before I move on, the wood L-bracket that I made out of wood usually stuck out farther than the pole so I could get outside the soffit. Well, it adapted to my head perfectly. I bet I bumped into it every other course. Lessons learned. Now, we have better alternatives.
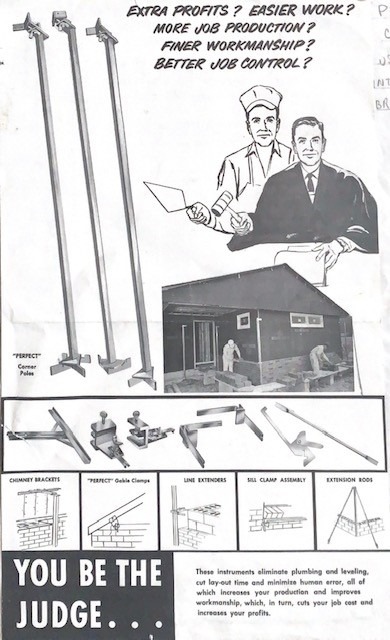
The 2-inch by 2-inch aluminum pole is a popular solution for the corner pole design. The aluminum pole is straight, could get wet, could be easily erased when new markings needed to be made, and was lightweight.
Today, aluminum cast brackets are also available and can be mounted at the top corner of the wall and at the base. Once you have laid the first course, you slip the bracket in the bed joint and then mount the top bracket at the top of the wall. Also available are brackets designed for inside and outside corners as well as brackets where you can set a line for brick independent from the block. They are easier to use and are much easier to transport from job to job.
When I worked at Wasco, Inc, they custom-made brackets that screwed into the wall and then had an adjustable slide that allowed the L-bracket to move in and out so that the adjustment on the corner was a one-man operation. It was a really great and adaptable idea.
A long time ago, there was a masonry manufacturer that turned consultant, and his name was Bill Gamble. Bill looked at masonry as a course in efficiency and took every task and evaluated it. One of his big talking points was string line. He said, take the cost of the string vs. the cost of the mason to roll it up, and you will cut the string and drop it after every wall. That may not still be true today, but it was one of Bill’s lessons. I actually still roll up my string, but today I take better care of my string line as well. Now, I take the roll and tie it to the top of my corner pole. This keeps it out of the mud and is at the top of the wall when I finish. Maybe that is useful for you.
When positioning your corner poles, consider the installation of drip edges. It does not take that much extra spacing but makes the installation of the drip easier because corners usually require a bit of extra attention. Most corner poles are set on the outside corner of your work; just an extra inch or so will help.