Words and Photos: Steven Fechino
Sponsored By
![]()
Flashing is not the most exciting topic, and the only people I know that really like hearing themselves talk about it are salesmen and waterproofers. Salesmen make money off of selling the product because all they have to do is talk about it, and waterproofers make money off of flashings because they can access and install flashing with the greatest of skill in locations only they typically can access. Waterproofers do some of the flashings required for new construction, as some masons are subbing this work out based on geographical standards. I do not know many bricklayers that love flashing because when it is at grade, it is usually the first thing in the morning when they have to work around mud and standing water. When they get to the door and window heads, it is usually about 2:30 pm, and they really just want to wrap up for the day…but it is still all just part of it.
I usually discuss the new and upcoming items on the market or the best productivity item that is available, but today I will discuss the basic rubberized and non-asphaltic products in a generic way as a quick education on some of the improvements that are available, but not necessarily know by the installer as differences. If you know me, I usually write every month on something I learned the hard way, and many of my goof-ups, do not worry; they are also mentioned. Well, this month, I write about something I thought I knew, but I also now know more, so I can share to assist others when selecting products.
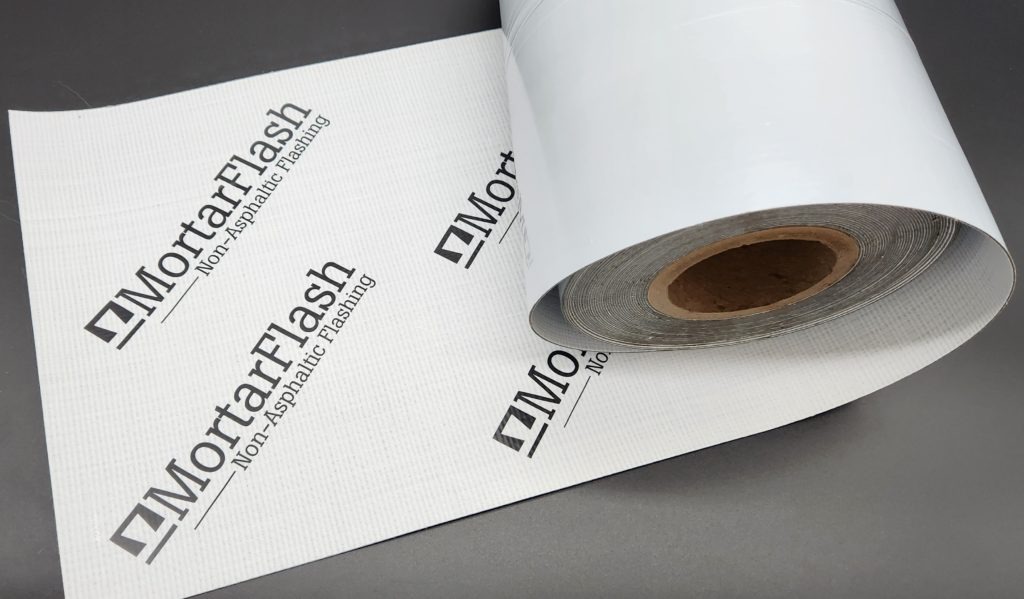
Mortar Net Solutions is expanding their masonry products to include five additional flashing products for 2023. Beginning this month, we will be offering the following new flashings: MortarFlash 40 Mil. Non-Asphaltic, MortarFlash Mortar Non-Asphaltic stainless steel, MortarFlash Non-Adhering Stainless Steel, MortarFlash 40 Mil. Rubberized Asphalt and MortarFlash 20 Mil. PVC flashing (residential market). All of these products are backed by Mortar Net Solutions’ commitment to quality and will perform as specified.
Rubberized Asphalt, Peel and Stick, for us old, old folks… Bituthene flashings have been around in the roofing world since 1978 and in my world since the 1990s, but I first used it in 1992… 31 years ago… Ugh, it hurts to admit it. Rubberized asphalt had a very strong marketing campaign by W.R. Grace. I used a mile or two of this stuff, it seemed like the greatest invention ever, and maybe it was. It is a common product today, made by several very reputable companies and sold by countless distributors. Brand aside, the product is basically similar to the original.
Rubberized asphalt, as we are most familiar:
The rubberized flashing that we all are familiar with has three main parts, the facer, the adhesive material and the release membrane (paper or plastic).
Rubberized Asphalt 40 Mil. Flashing
The facer is usually an 8 Mil polyethylene (the non-adhesive side where the manufacturer can print their name or indicate the material source by color). This part of the product is exposed in the cavity and is not tacky or sticky to the touch. The termination bar would attach to this side when rubberized asphalt is used, something I say without a joke – it should be a must in your installation.
The adhesive found in the middle of the product is asphalt with a small percentage of (poly)Styrene-(poly)butadiene-(poly)styrene (SBS). The SBS is a material that you are exposed to in everyday life as it can be used in manufacturing shoes and other rubber-based products. The combination of SBS works because it provides a durable and flexible combination that, when added to the asphalt agent, forms an adhesive that self-seals small penetrations, conforms to the brick shelf or lintel installation application, and can also adhere to many surfaces, including itself. The rubberized asphalt that we are discussing has a compression-based adhesion property and should always be hand-rolled over the entire surface when installed. Primers are usually joked about or forgotten about by some of us old guys, (not by everyone, of course), but truth be told, they are not always used. It is still a good idea to use a primer even when a termination bar is used to mechanically secure your flashing to a substrate. Why, if I use a term bar, go through the time and expense? Well, first, construction sites accumulate dirt and dust in a moment or two; adhering the adhesive from the rubberized asphalt to a dusted surface is going to minimize the bond. Secondly, if you are not securely bonded to the brick shelf, then capillary action could allow moisture to wick in under the flashing and cause leaking at the grade level due to building pressure differentials and even in some cases, wind load. Not all primers are able to be used for all rubberized asphalt as they once were, so if you purchase a brand, find out what the manufacturer has tested and go with it, but check it out. Better to use it and have to wait for it to dry than to do rework; that much I DO know.
The release paper is just as it sounds; it keeps the stick from sticking until you want it to stick. Just like a sticker, peel the back off and stick. When you release the paper, it is time to adhere the material. Rubberized asphalt, based on my recommendation and based on doing it a time or 100 in the southern part of the United States, should be kept back ¾ inch from the face of the wall. If the cored brick does not allow this, then at least have the material cover the cores completely. In all flashing installations, always have the cores and cavity completely slushed full prior to installing the flashing; this is an industry standard.
There is only one time that I do not recommend peeling the release paper, and that is when you use TotalFlash® by Mortar Net Solutions. Based on the design of this product and the overall characteristics of the product coupled with the installation instructions, a proper and tested installation can be made when the release is in place. Here is a tip, typical peel-and-stick products and windy days, you do not need to install 50-foot sections. The material has a cost to the job, so just use manageable sections. If you need a third person to support the middle of your installation, for the time it takes to ask, do it because a wasted piece that has to be peeled off, reprimed and recut is just not worth it.
Non-Asphaltic 40 Mil. Flashing
Non-Asphaltic flashing is still a peel and stick, but just that, non-asphaltic and not rubberized asphalt. It is easy to call it rubberized asphalt, but two completely different animals. Non-asphaltic is a butyl-hot melt-based material that is installed very similarly to rubberized asphalt. Look closely, or you might get them confused.
The non-asphaltic product is made up of a facer, adhesive and release paper. The Mil thickness is still 40 Mil, and the ability to adhere to itself remains the same. The difference is that this product will not typically drool under normal summer sun conditions but needs to be concealed. It is still pressure applied, requires surface rolling, and will stick to itself, so application takes a bit of care. Another nice feature about this product is that it can easily be adapted to different facers. You can do stainless steel, polyester and even polyethylene. The variable facers eliminate the constant compatibility research that architects and engineers are constantly forced to do when specifying products.
Primers are still recommended as a proper way to prepare the substrate prior to placement. Primers condition the substrate and increase the ability for good adhesion. They also make sense for the installer.
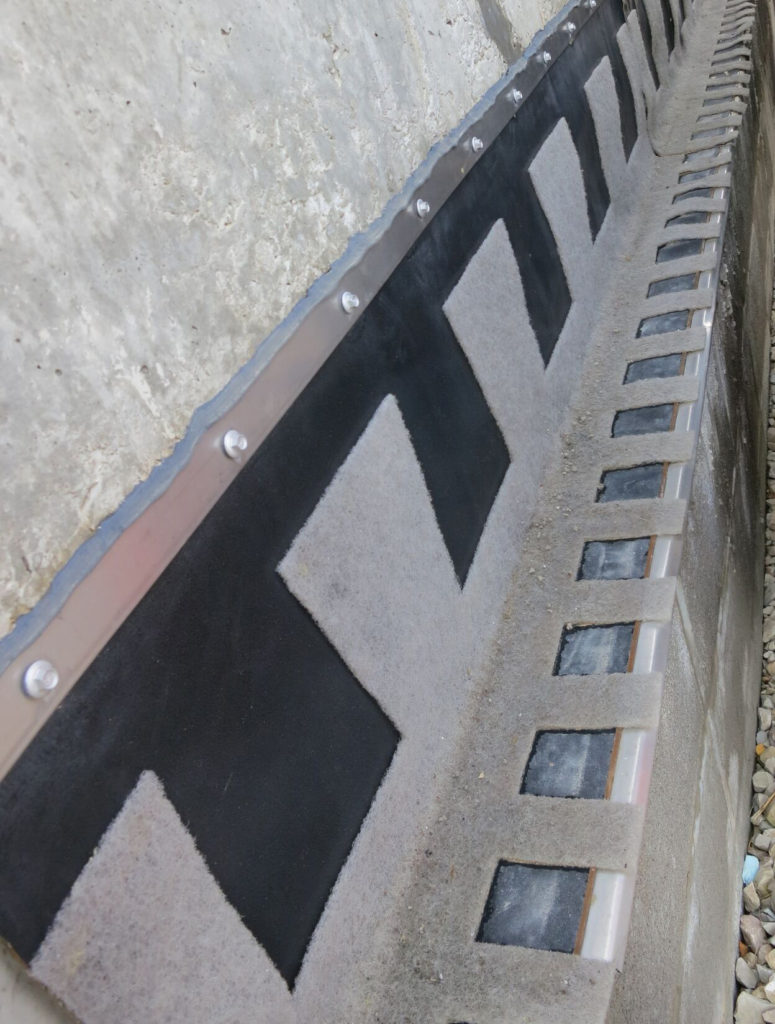
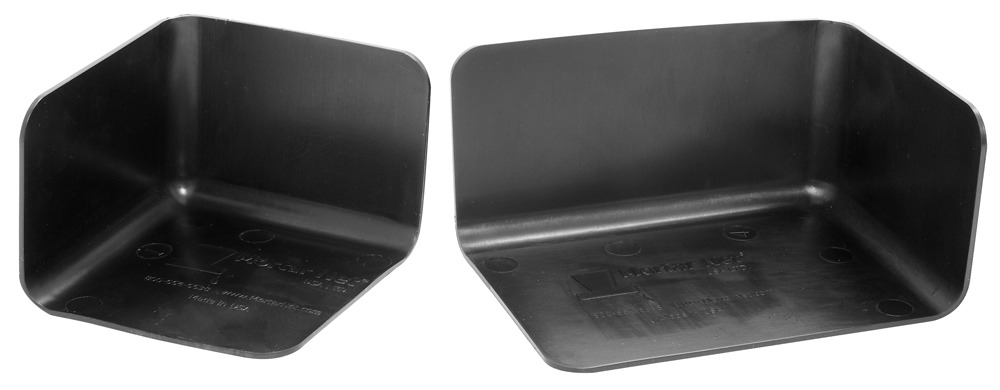
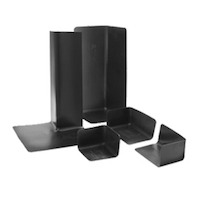
End Dams
End dams can be made by folding the rubberized asphalt; it is quick and simple. Fold it into four equal sections and pull one section till it forms the corner. BUT, as easy as they are to make, they are that easy to install backwards, allowing any collected water a direct path to the cavity. Make the mistake once, and you will forever purchase your end dams and corner boots. Rubberized asphalt will adhere to many preformed boots, such as CompleteFlash® by Mortar Net Solutions or shop-made stainless steel products. If in doubt, add a bit of sealant to the end dam or corner boot; it is your work, so stand behind it with a little extra when necessary.
Termination Bar Discussion
I recently had a discussion with a very knowledgeable product technician who lives across the country from me and in a different climate. We were discussing termination bars. I stated that I rarely ever recommend stainless steel termination bars, also based on the fact that I spend a lot of time discussing TotalFlash. His opinion was negative about the use of PVC termination bars because his opinion was that they can fish mouth, and he had a problem with that. A fish mouth is when you get the bulge gap on the end of the flashing or behind the term bar, which will allow water to enter behind the flashing. I respect his point, and I share it because it is a good point that I just want to comment on, not criticize. Whenever I have installed a termination bar, I do it in steps, align my flashing, starting at the center, drill my pilot holes, and insert my anchor screws to hold it in place to ensure I do not have fish mouths. Screws can be controlled to how snug you tighten them. Now instead of putting my sealant on the wall, I place it on the back of the flashing, at the top of the flashing, and around the screws. After all, when sealant is placed on the wall before the flashing, it is easy to misalign the bead and waste the material. Next, all I do is slowly snug the screws into the pilot holes, and when the sealant oozes up, I strike it over the termination bar, so it makes a bridge for water that drips down the wall away onto the flashing. The sealant behind the termination bar (basically a gasket) and the tightness of the anchor screws are the keys to a good installation. A good application, in my opinion, they both can be successful. This is why I do not recommend hammer-type compression anchors for termination bars, as they cannot be adjusted once set.
Peel and stick is still the product where you pull a release paper and adhere the product to the substrate. Rubberized asphalt and non-asphaltic are just two very different versions of peel and stick.
Rickey Jones Sr., a great person, a great mentor, a great friend
About 20 years ago, it was a hot summer day, and I went to the jobsite to check on a crew. My superintendent Rickey Jones Sr. was in charge, and everything was going great. We had a laborer that just would not be quiet for even a second. In an unplanned series of events, when they were placing the peel and stick, somehow, the laborer got in between the stick of the peel and stick and the wall as he was turning around, and it got him. Man, oh man, that stuff stuck to him… He got really quiet and upset, and by the time he was unstuck, I bet we lost 20 minutes. The jobsite was quite quiet the next day, I was told, as he never came back (masonry was not actually his dream job). Rickey handled the situation as he did everything head-on, took care of the employee and was back to work. Rickey Jones Sr., rest in peace as you taught me and so many others so much of what we know and a bunch of silly and useful tricks along the way. I hope everyone has a Rickey Jones Sr. that they worked with. He was special.